Now comes the fun part. The time has come to build stuff out of wood! Which means drilling holes. Lots of holes. Each hole I drill is an emotional experience and I find myself exhausted at the end of every day simply from the uncertainty of not knowing what’s going to happen. Is this the time I drill a hole in my beautiful cherry wall and miss the narrow metal stud behind? Or is this the time my drill bit snaps in half? Perhaps it’s not the drill bit, but the screw itself. Or maybe the drill jumps out of the screw head and mars the wood surface? Each of these things has happened and I’ve had to work around each issue. Every hole is emotional.
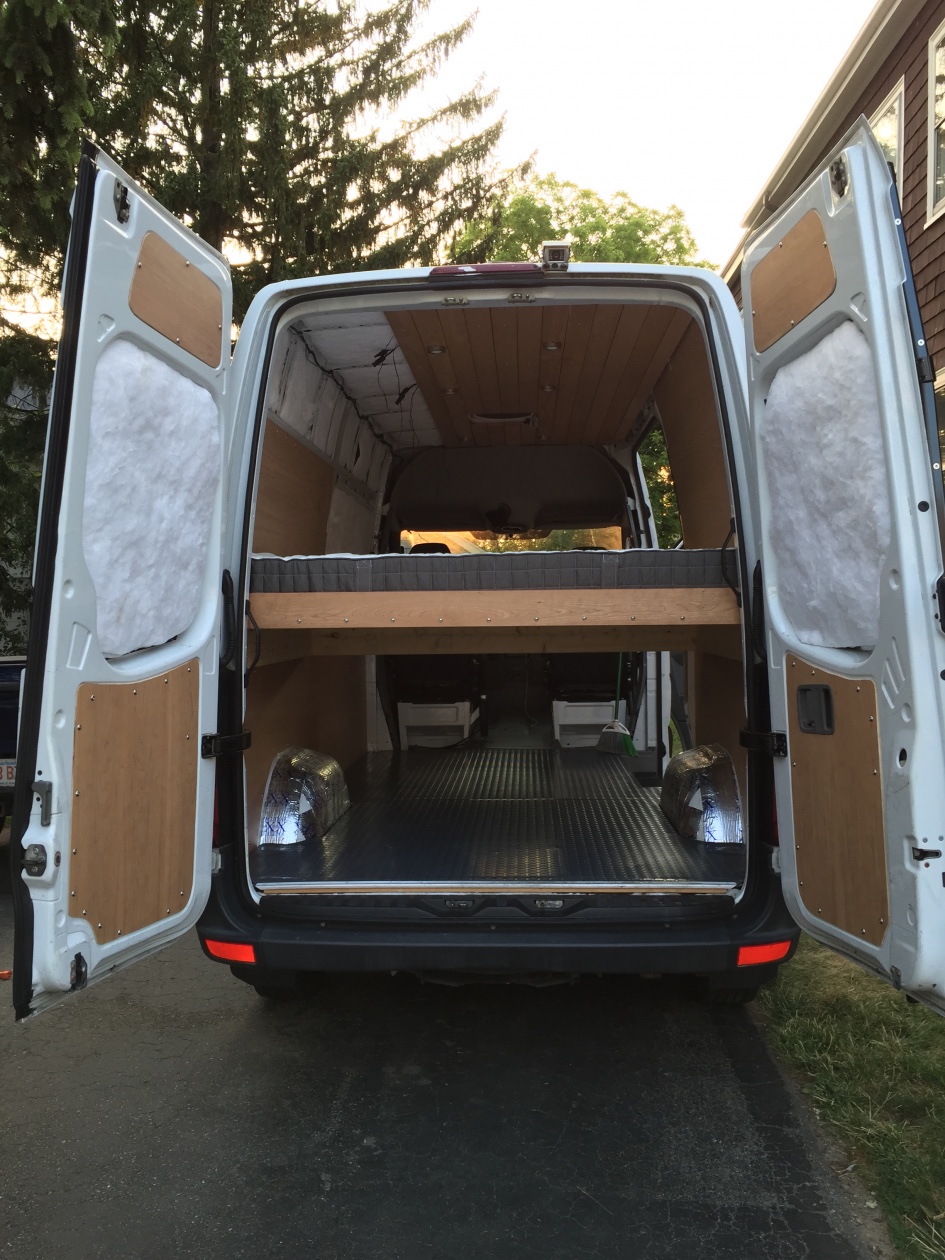
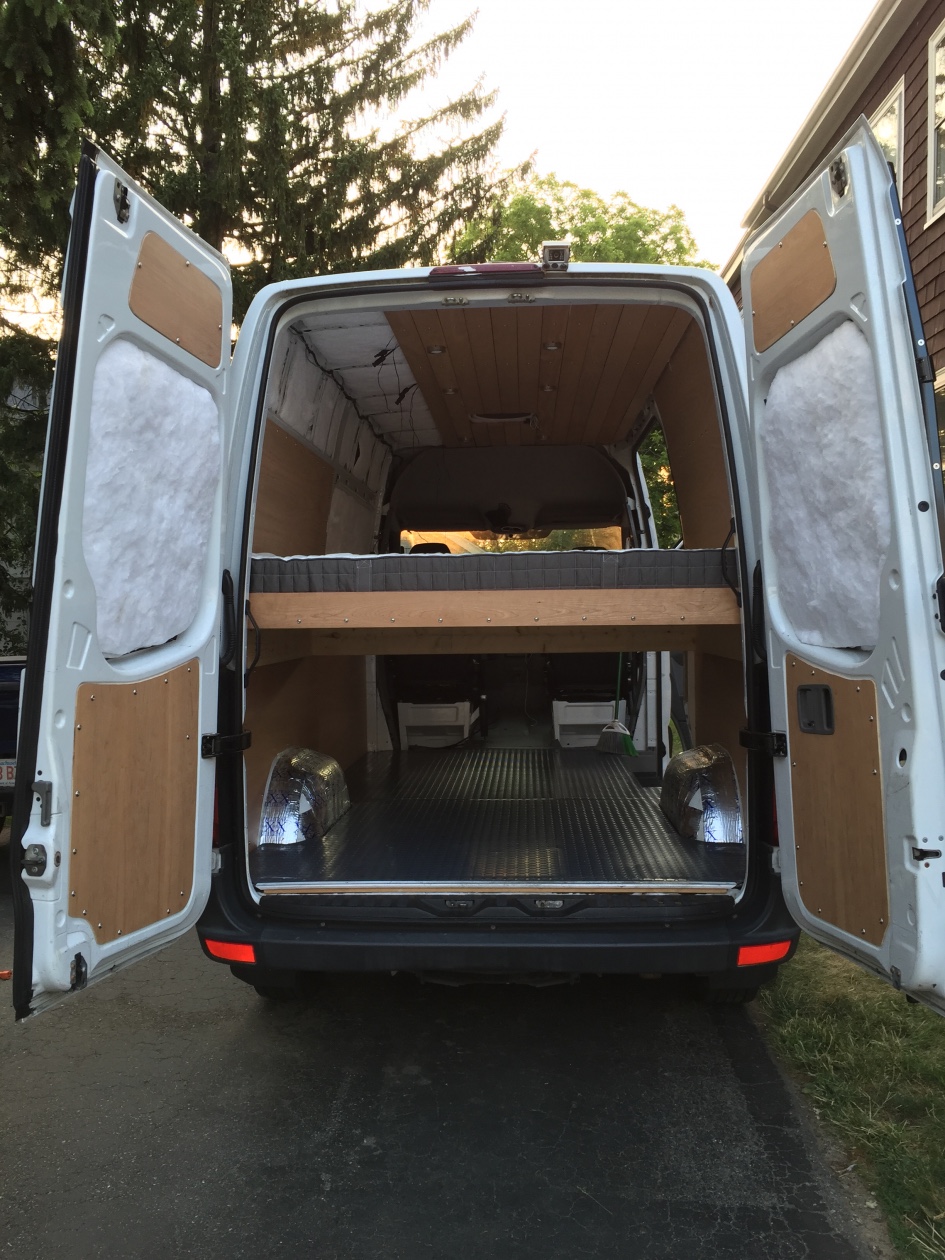
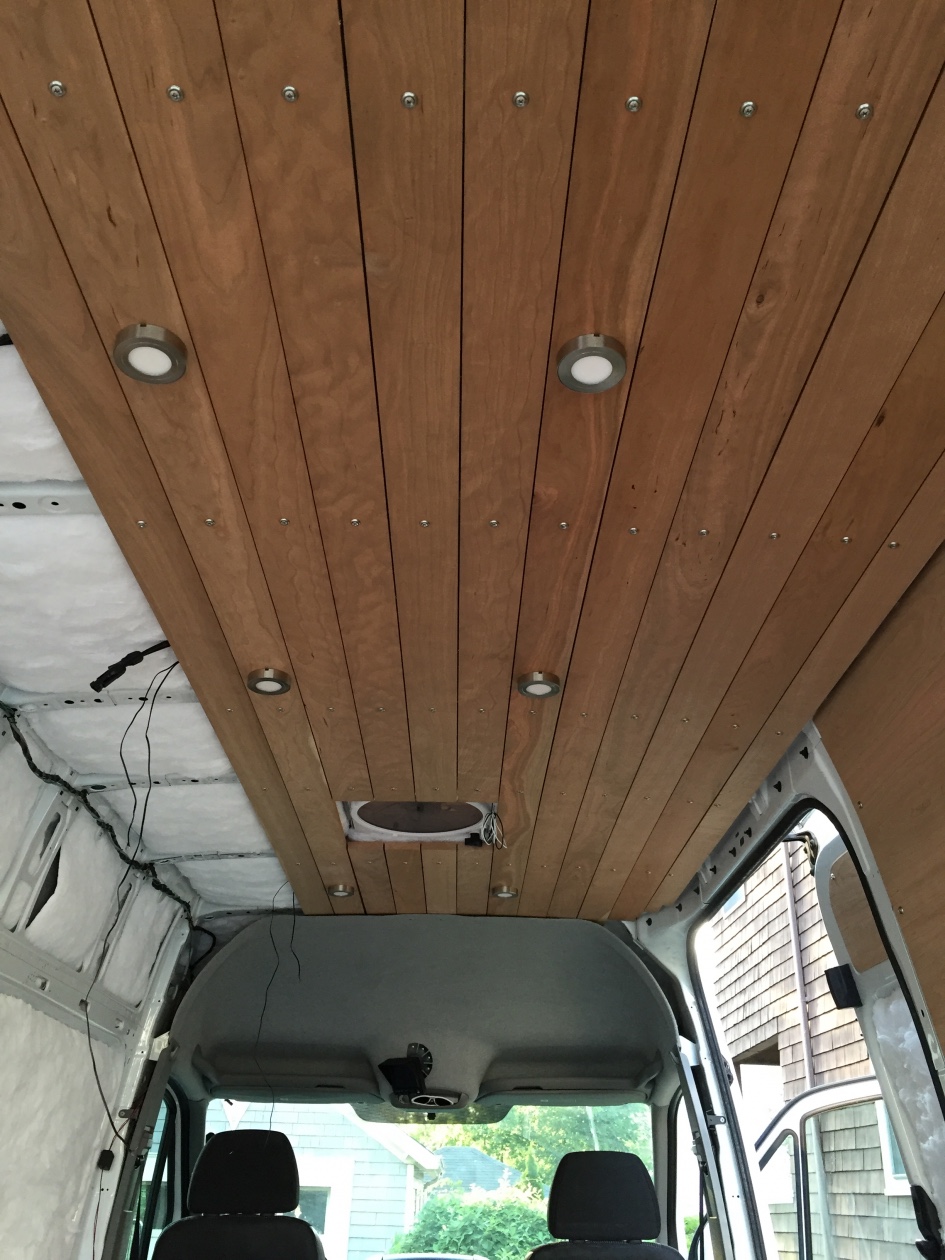
But on the plus side, the end result looks incredible (I think). Cherry ceiling, cherry bed frame, and cherry plywood walls (I really like cherry). All the wood will get a few coats of walnut oil and softened with steel wool, but that’s for another day.
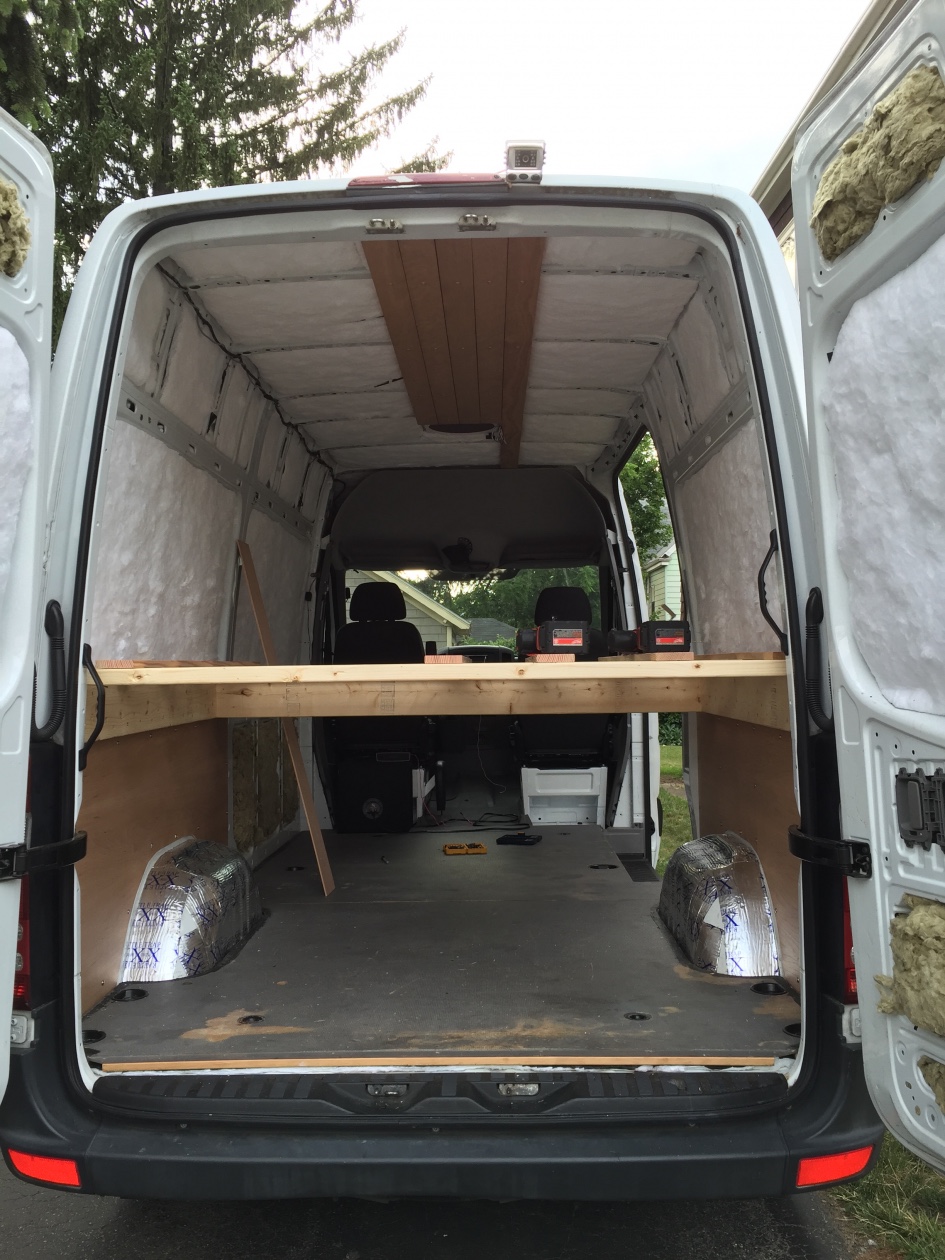
Building the bed frame. The walls and ceiling are also getting started at the same time.
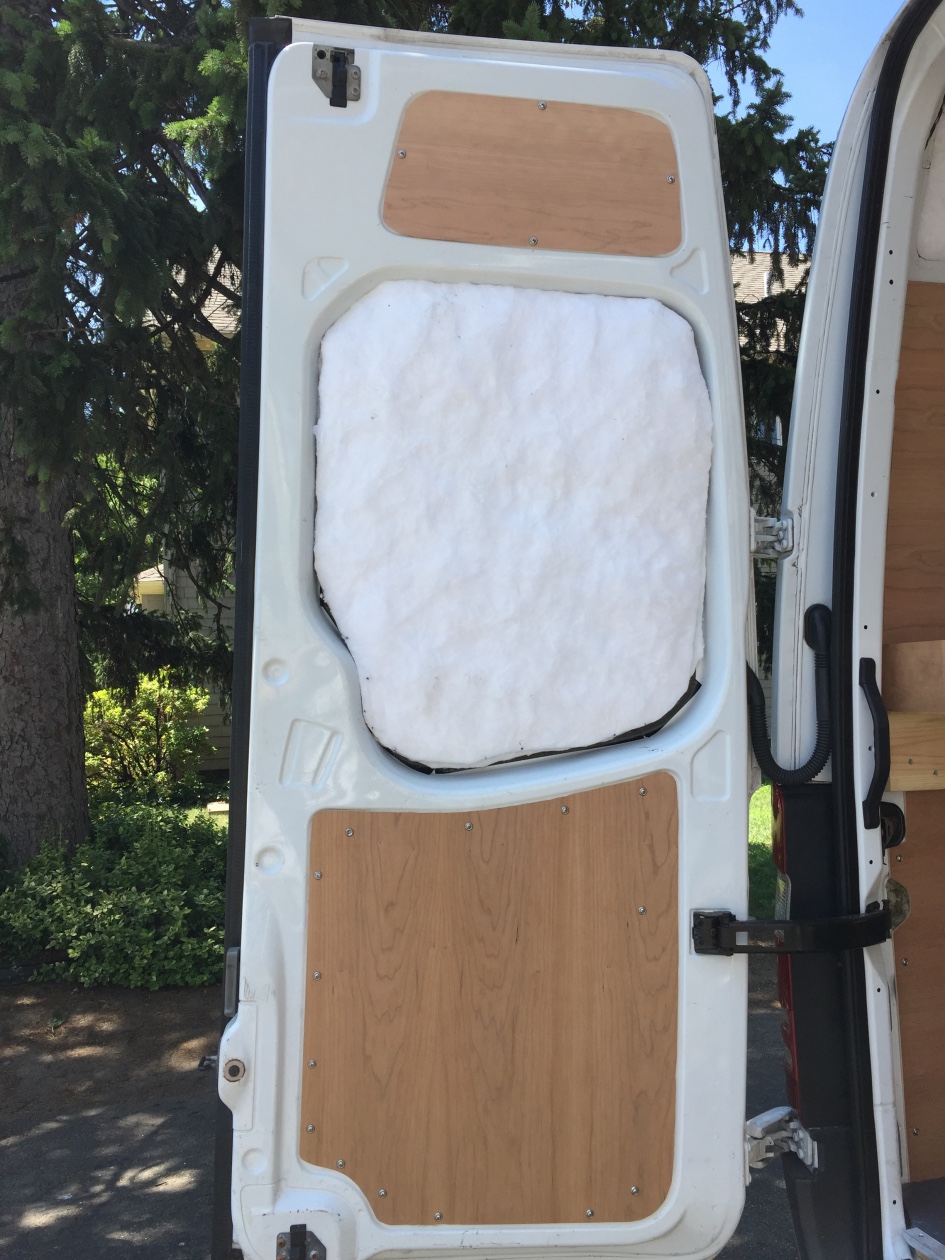
Installing the cherry panels in the rear doors. The middle part of the doors will get upholstered with fabric later, probably when I’m on the road. I love the aesthetic of the stainless steel finishing washers.They were inspired by the Kyle Toth buildout. The irregular pattern is due to the crazy system of trim mounting holes that are part of the doors themselves. I had carefully make sure to avoid them.
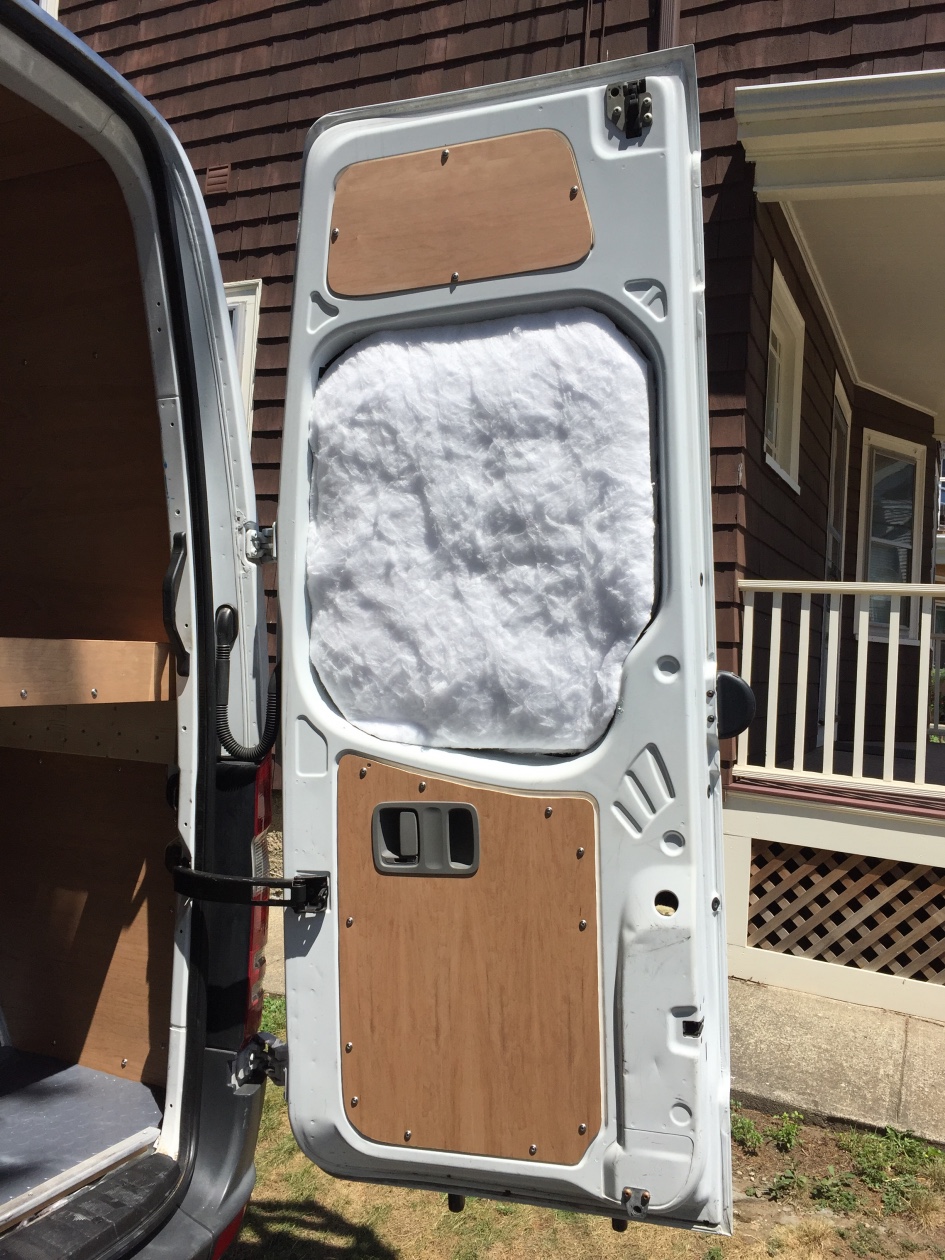
The other door doesn’t have a handle.
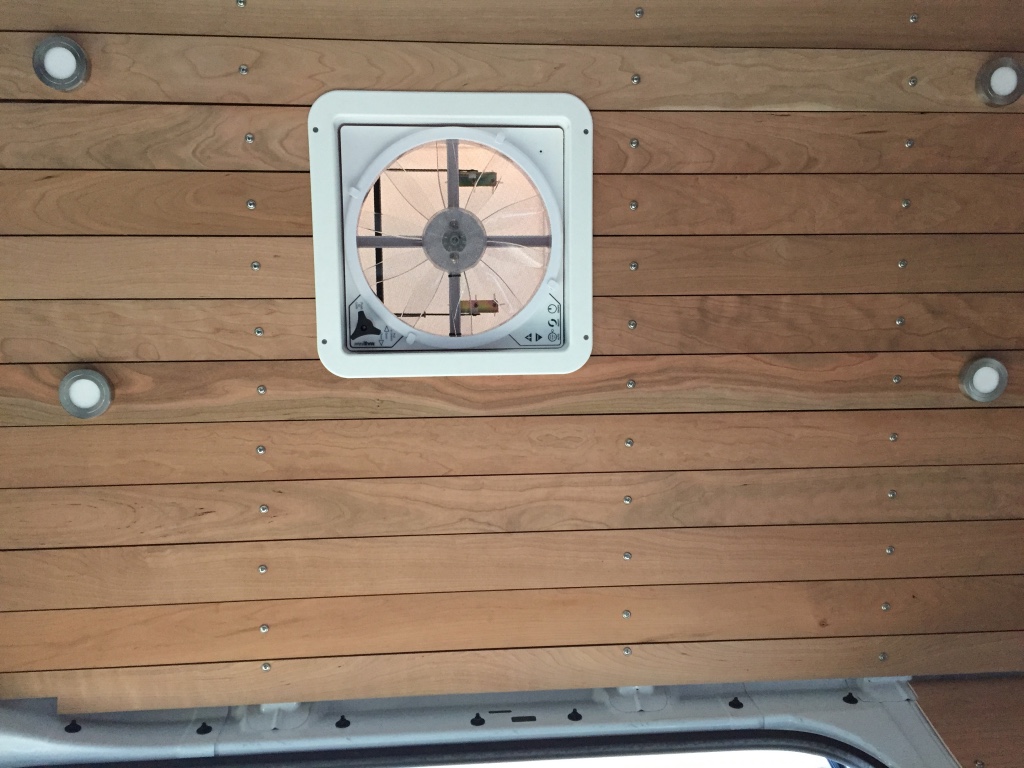
Filling in the ceiling and installing the LED lights. I was able to find 2700K dimmable puck lights from Armacost Lighting. Turns out that’s a hard thing to find. Weird. Also the Ikea Morgedal full size mattress is now in. Had to trim down the length by about 4″ to get it to fit. Totally worth it though to save space in the rest of the living area. The wheel wells will get covered with carpet at some point.
Close up on the ceiling. I had to rig up an elaborate system of clamps to hang the boards. Installing the first one took at least an hour. After that they went pretty quick.
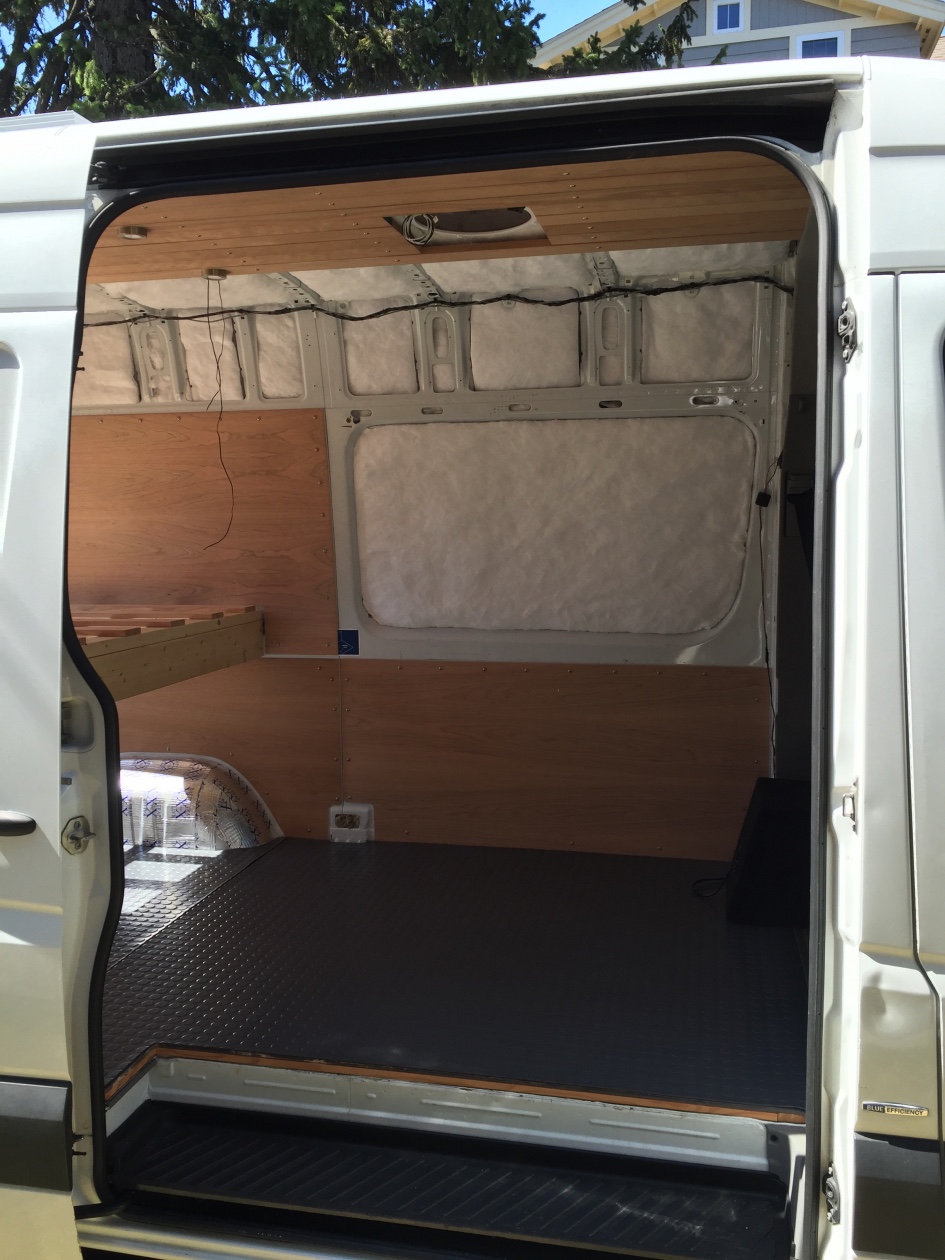
From the side. Some of these are out of order, but you get the idea. The last wall section will get installed after the counters go in. Stay tuned!
Installing the fan trim plate. Looks pretty good.
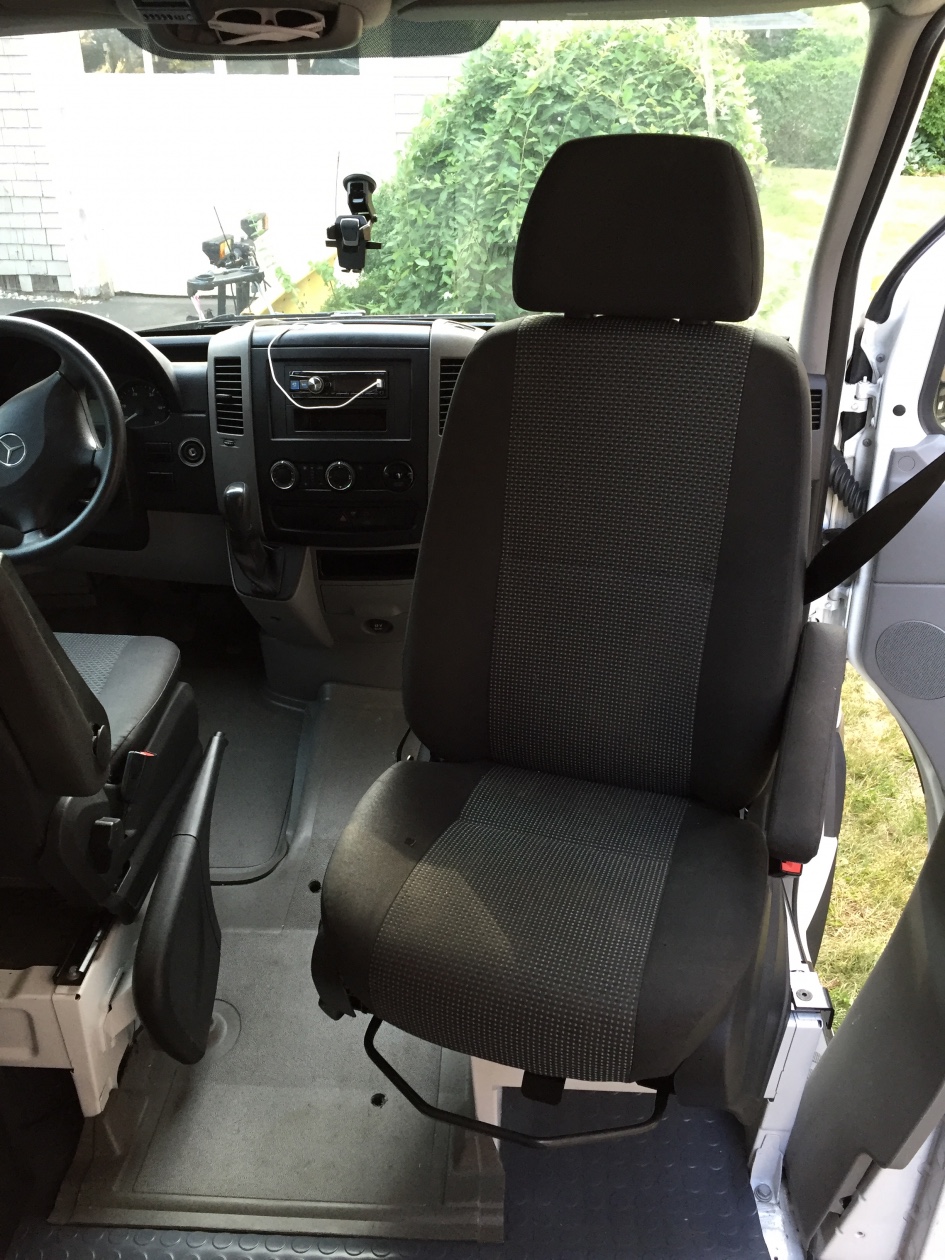
One more addition before starting on the cabinetry. I installed an adapter plate under the passenger seat so now I have a Lazyboy in the van! Sweet! Looks pretty comfy. Maybe I’ll sit down for a while… and take a nap.
