Today iVan learned to sing. And he’s REALLY good at it! This is my fourth car audio system, but the first that I’ve installed myself. Growing up in a piano store, music has always been a big part of my life. These days I no longer play piano, but I’ve been left with a high appreciation for music and quality sound.
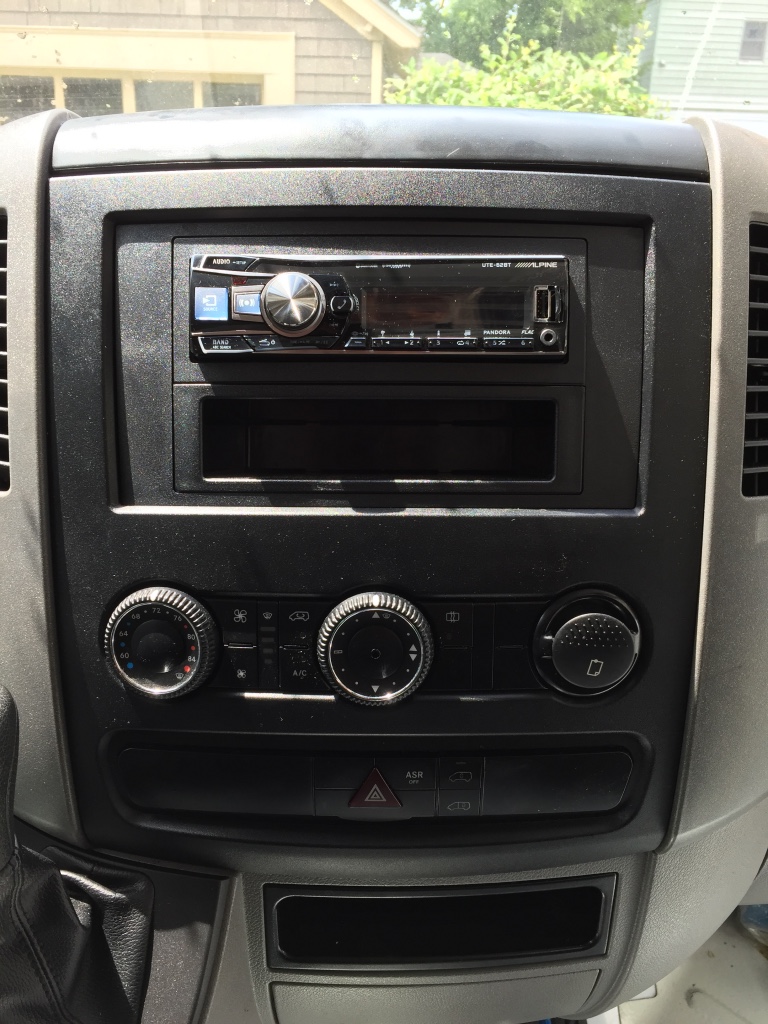
iVan’s factory audio system was weak at best. There were two 5.25″ two-way coaxials in the front doors and the receiver had no input for my iPhone. Gross. IZZ OKAY, I got this!
I haven’t played a CD in years and I already have a reverse cam that came with the vehicle, so I decided to get a single-DIN digital media receiver by Alpine. Not super fancy, but gets the job done. I purchased most of the audio components from Amazon, but in this case I paid a small premium (~$20) to Crutchfield in order to get their support in case something went wrong. Their receiver and amplifier wiring kits included everything I needed and are pretty cheap. Again, I could have saved a few dollars by getting the same supplies on Amazon, but I thought their support was worth the extra couple $$. Also they sent me some nice install instructions for my vehicle at no charge. Pretty useful actually.
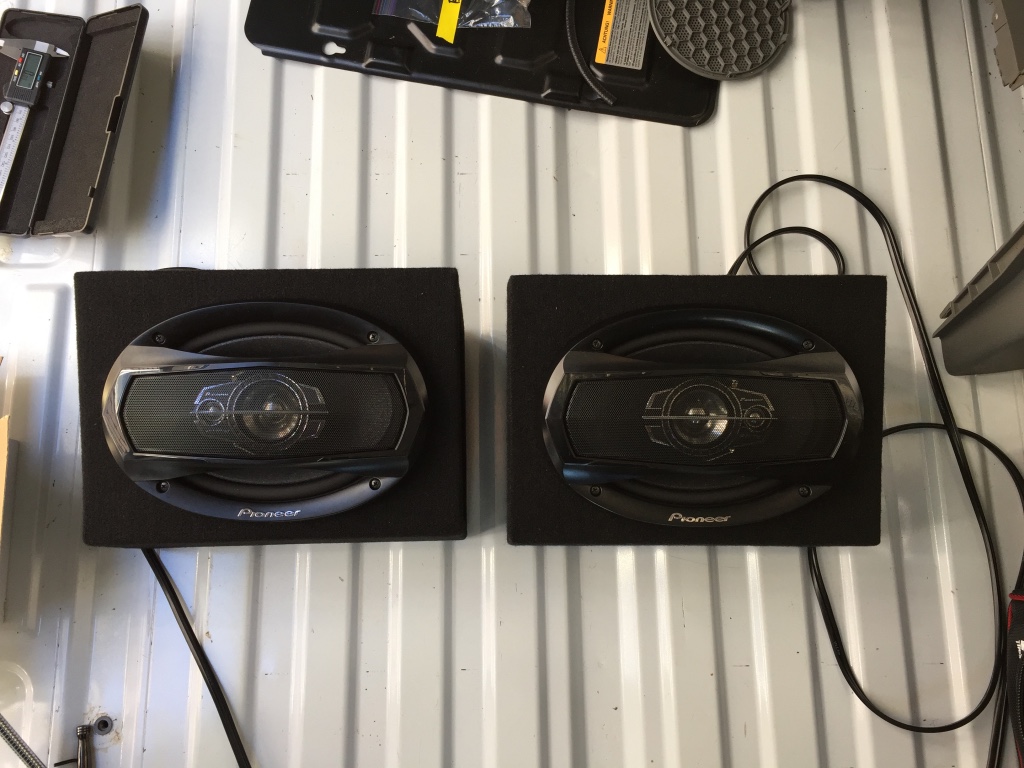
I picked up these Polks for the front doors and dash and a pair of Pioneers for the rear. I briefly considered mounting them in the headliner, but ultimately I ended up getting sealed enclosures, which I’ll mount to the ceiling… as soon as I have one…
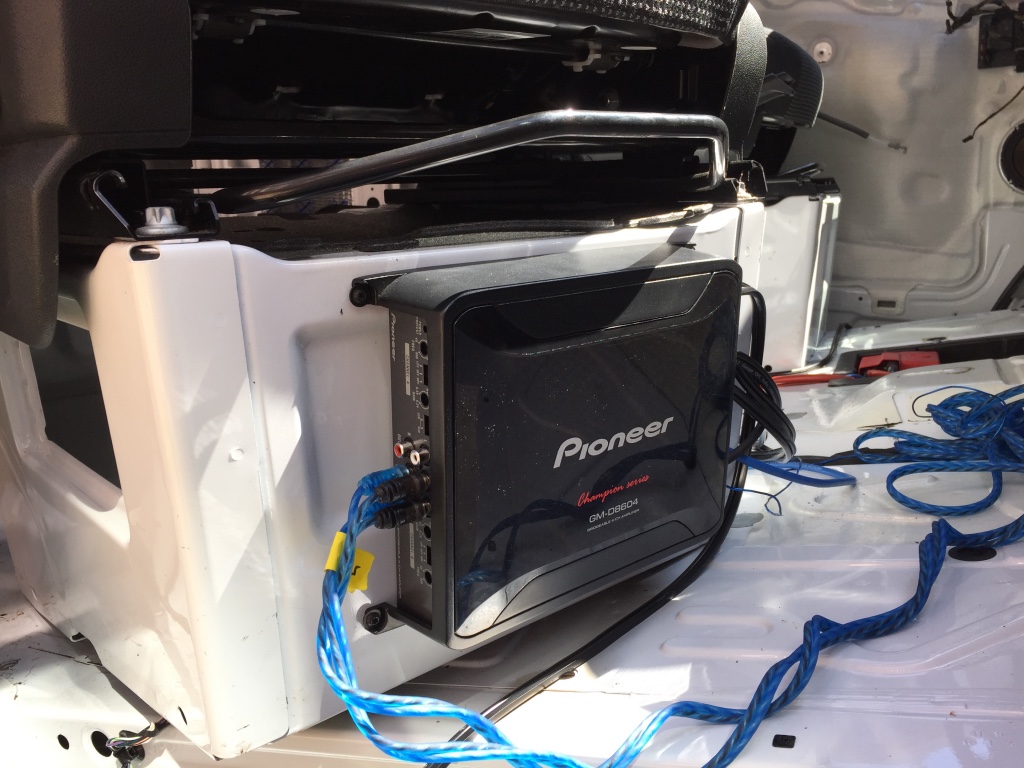
The Polks are 100W RMS (4 ohm) each and the Pioneers are similar, which means I needed a 4-channel 400W amp to drive the system. This Pioneer fit the bill.
Okay, now for the real work. Despite having all the correct materials, installing a car audio system is a royal pain in the ass. Seriously. In the past I’ve been charged $300 for labor. Totally worth it. The install took me the better part of three days. And nothing really went wrong! It really just takes that long.
The first hurdle was installing the front door speakers. Because these are components, the woofers go in the door and the tweeters go in the dash. In order to gain access to the speakers, I basically stripped all of the trim paneling out of the front of the vehicle. Almost everything from the dash, everything from the doors, the headliner, the A and B pillars, the floor, the floor trim, everything. What a mess.
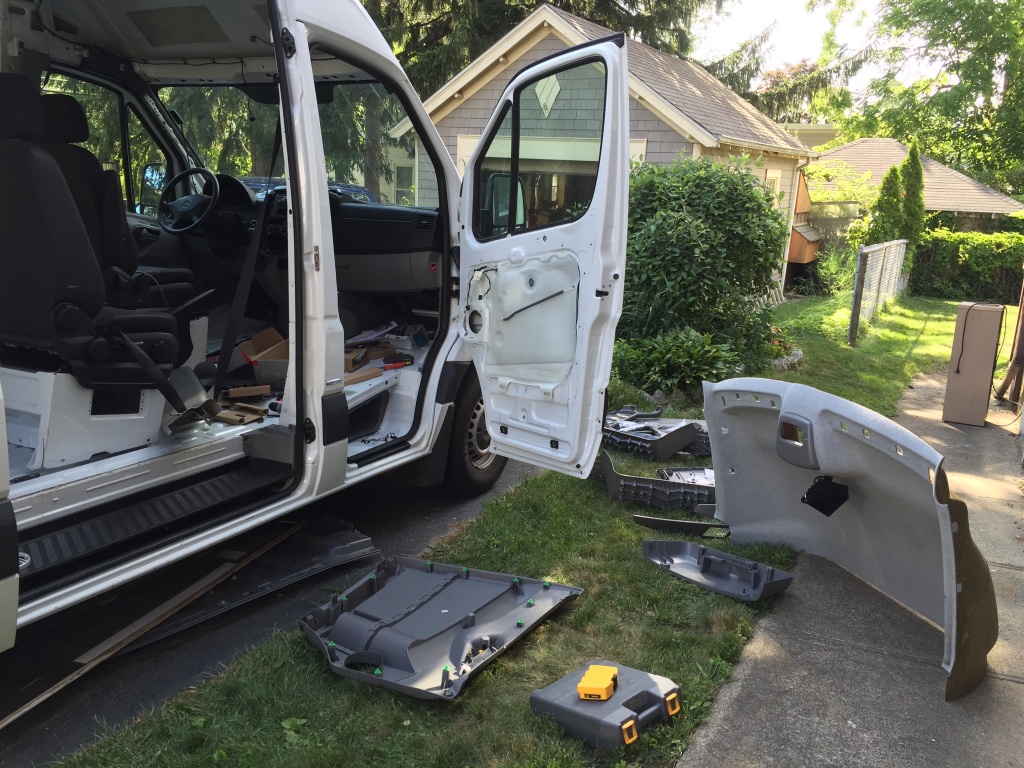
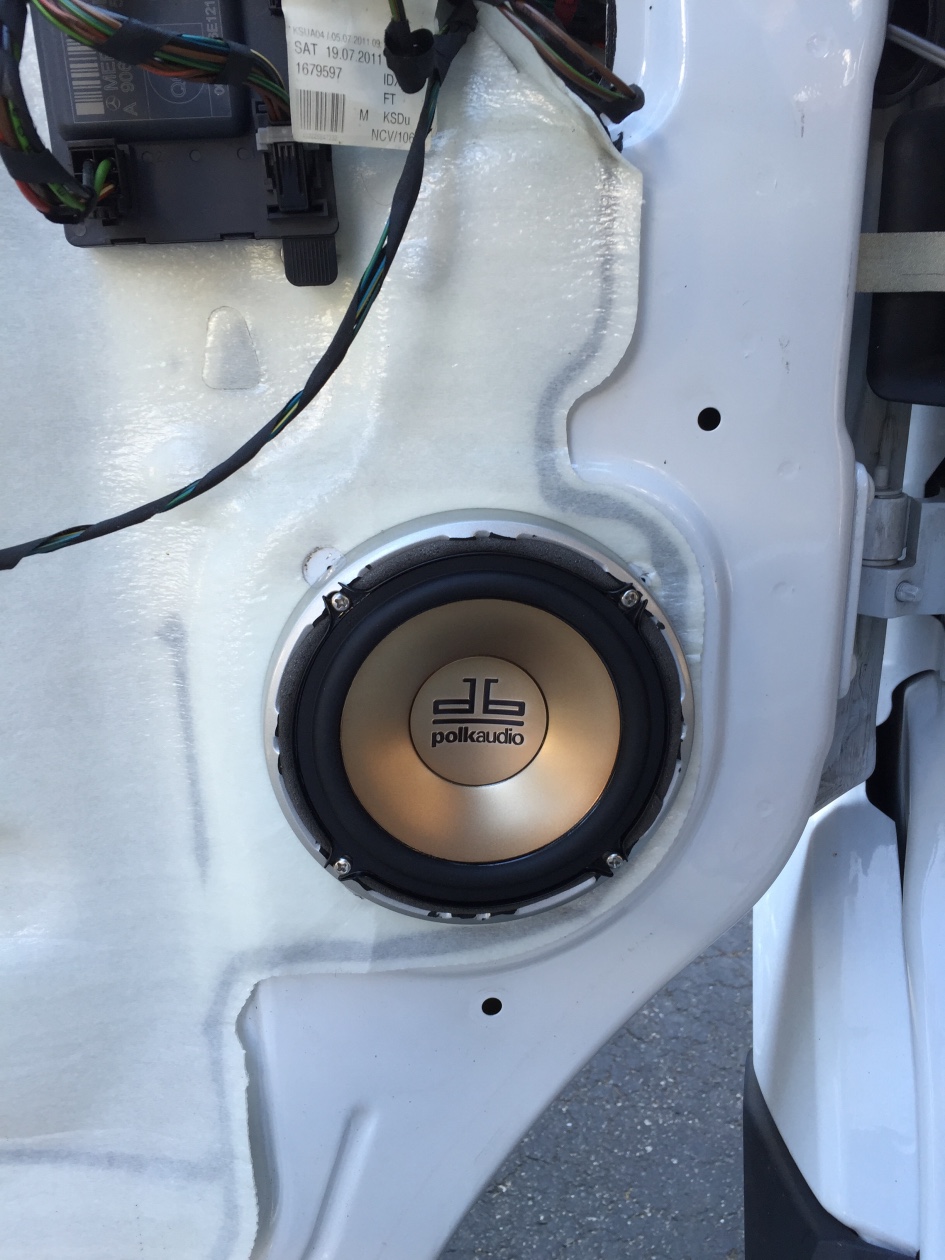
I removed the shitty factory speakers from the doors and found that low-and-behold my beautiful new Polks didn’t fit. Welcome to the wonderful world of car audio. Despite the fact that the factory speakers and the new woofers are the same size, the mounting positions are different. Because the original speakers didn’t mount flush to the door, the new speakers also needed a standoff. I needed a speaker adapter plate, but none existed. Time to get creative. The Polks came with speaker grills, which I didn’t actually need, but they obviously already fit the mounting positions of the speakers. So I modified the grills to become the adapter plates I was missing. I basically just took a bolt cutters to the spokes of the grill and then sanded down the stubs with a Dremel tool and lined the inner part with adhesive foam.
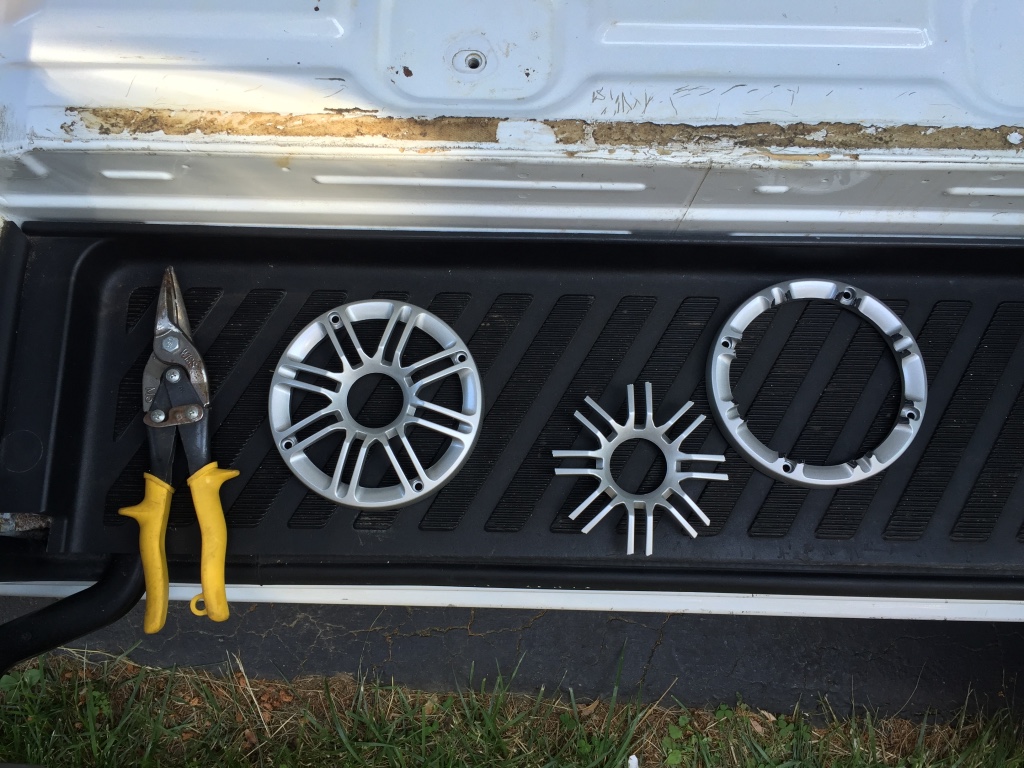
It’s a bit of a hack, but you can hardly tell from the end result. Not too shabby!
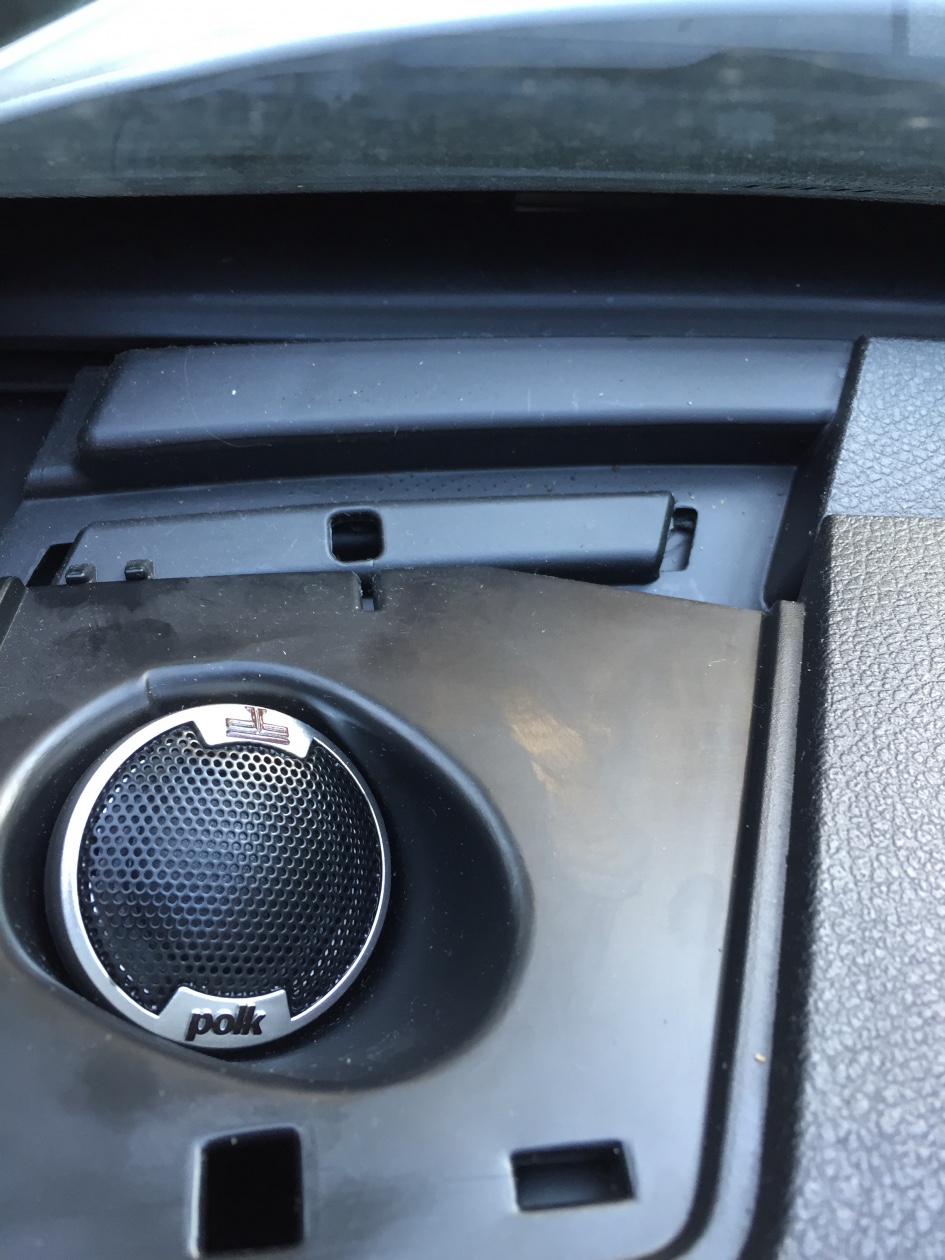
I removed the factory tweeters from the dash. Luckily the new Polk tweeters slid right into the trim slots. I glued them in with some silicone caulking. The tweeters are only responsible for the high frequency range, so they don’t displace much air. They should be pretty secure.
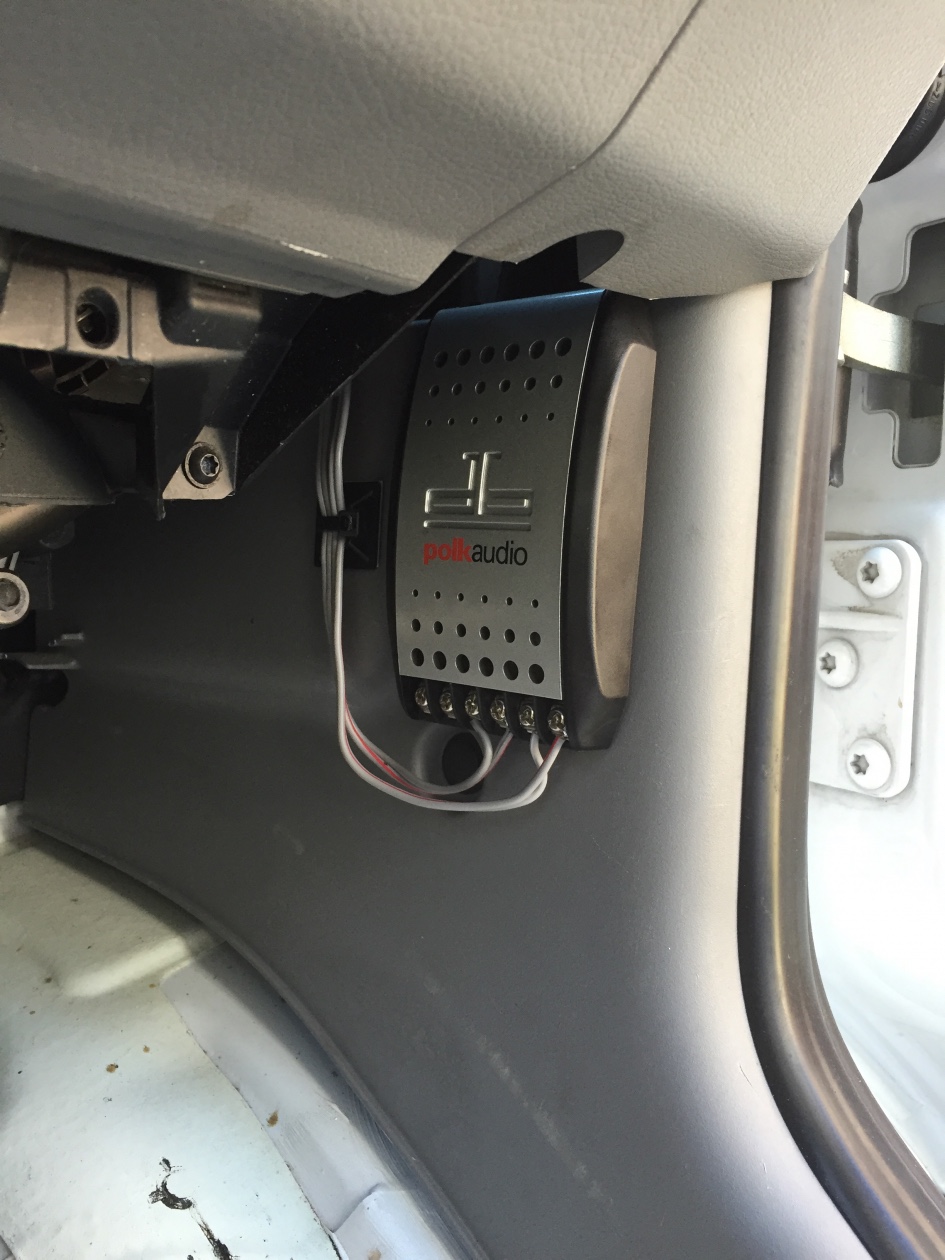
I mounted the cross-overs near the floor trim using more 3M VHB tape (this stuff is great). Running the speaker wires from the woofers to the cross-overs was challenging and required removing the rubber conduit and grommets that connect the doors to the chassis of the vehicle. More yak shaving ensued, but in the end everything worked out fine and I didn’t permanently break anything.
I decided to mount the amplifier to the front of the passenger seat base. This kept all of the wiring pretty short, especially the power connections. Turns out that the car battery is under the driver side floor mat rather than under the hood. Seriously. I had to Google it to figure this out. I spent 5 minutes searching the engine compartment with the hood up and was like, screw it! and fired up a browser window like a boss. This is really nice actually since it means I won’t have to drill holes in the firewall that separates the cab from the engine compartment. I received a 60A EFX inline fuse as part of the amp kit that I purchased from Crutchfield, which was honestly the hardest part of the whole ordeal. Someone should yell at the dudes over at EPX for making such a badly engineered product. It took me over 30 minutes to install the fuse in it’s plastic shield. In the end I just pressed really hard and hoped that it wouldn’t break. It nearly did. Such crap. Lots of cursing and swearing.
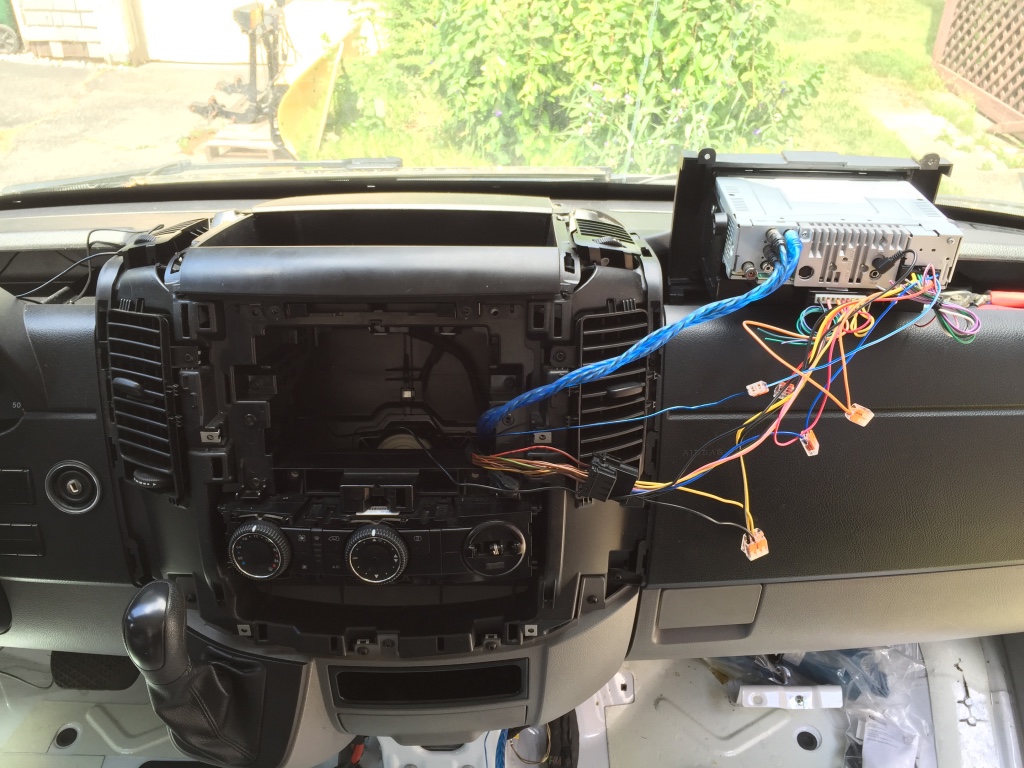
Wiring up the Alpine receiver and assembling Scosche dash kit was non-trivial and took several hours to figure out how all the jigsaw puzzle pieces fit together. More cursing and swearing. I had to call Crutchfield to double check my wiring. Turns out I got it right, but it was reassuring to have confirmation since it’s not exactly intuitive. I used Wago nuts to connect all the wires.
The 6×9’s were very easy to install in the enclosures. No problem there.
And three days later, time for milk and cookies!

