So I didn’t think that mounting the solar panels would be too difficult as compared with the ladder and the fan. I was wrong. Again. But the end result came out reasonably well!
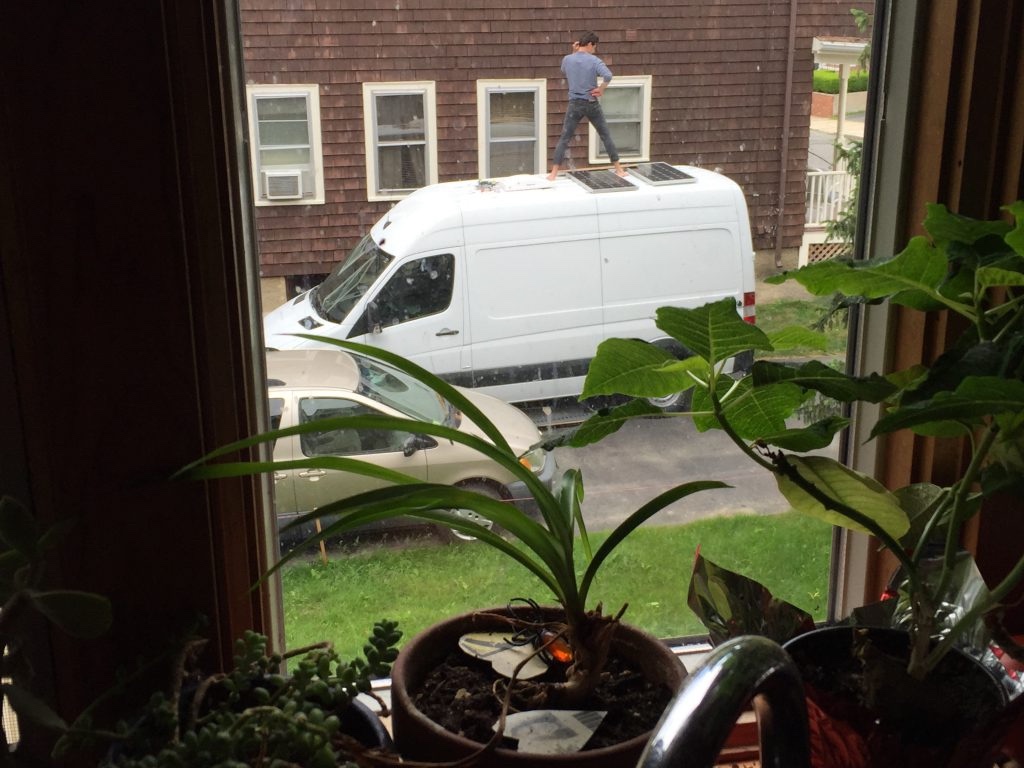
I opted to attach the panels to the van using 3M VHB tape. Yes. Tape. VHB stands for Very High Bond and seems to be frequently used for mounting solar panels. The internet has assured me that they are not going to simply blow away on me. I swear. Fingers crossed?
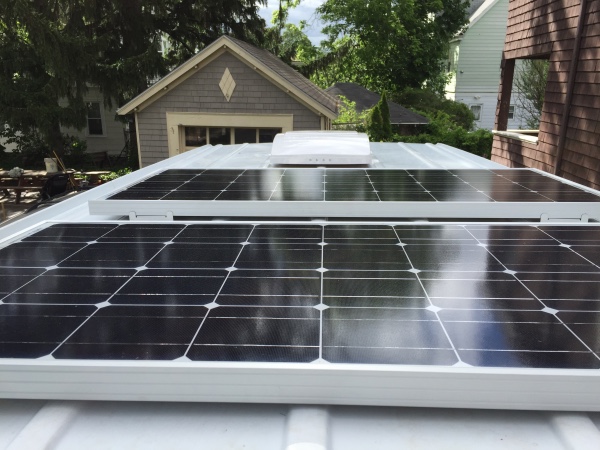
The other option would be to put a layer of Butyl Caulk under each foot and then screw them down. But I really really don’t want to put any more holes in my van. Each hole is an opportunity for water ingress and the VHB tape option seems legit. So that’s what I chose.
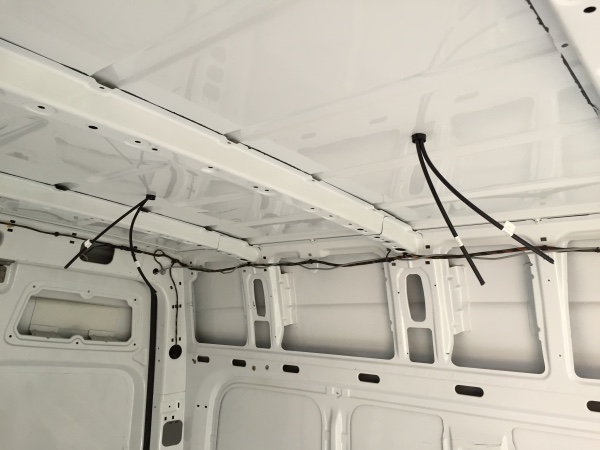
I drilled a 7/8″ hole in the roof to run the wires into the cabin and lined it with a snap-in plastic bushing that I got from HomeDepot. I used low-profile weatherproof junction boxes to finish the job. The junction boxes were also mounted with VHB tape and sealed with Dicor 501 Lap Sealant.
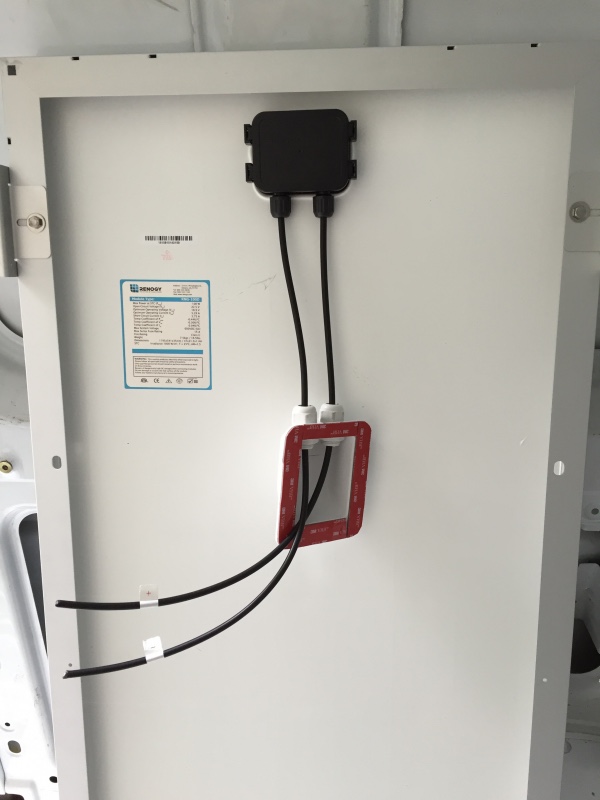
You can see from the image that I left about 8″ of wire between the panel and the junction box so that I could maneuver the panel around while mounting the junction box. In retrospect, that probably wasn’t enough. I made it work, but man it wasn’t easy to mount each box with a solar panel tugging at the end of its leash. I guess I could also have mounted the boxes next to the panels, instead of underneath them, but I was going for a nice clean aesthetic. Probably shouldn’t have bothered. I did come out looking very pro, though.
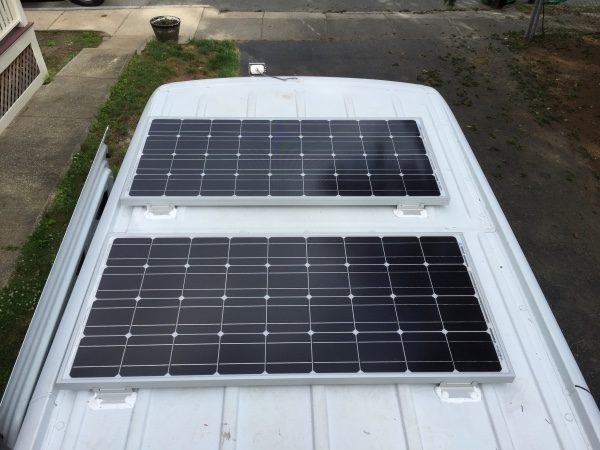
My only complaint is that the panels are not mounted in the center of the roof. As you can see from the image, they’re offset to one side by a few inches. Le sigh. My options were limited due to the ribs on the roof and the mounting locations of the feet on the panels. In the end I’m sure a few inches won’t make any difference, but as an engineer I really do like things to be symmetrical. Whatever. It’s fine!
All that work just to bring four wires into the cabin!
