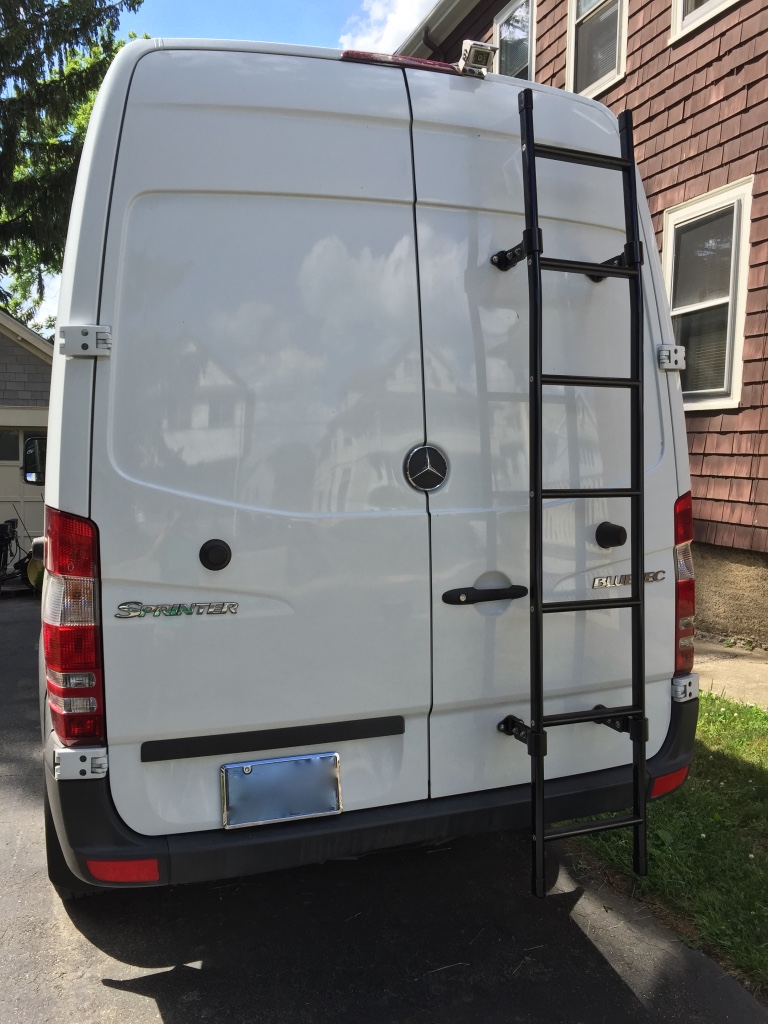
Drilling the first holes in my brand new van was the hardest thing I’ve done since deciding to purchase it. Not only did I not want my new home to look like Swiss cheese, but I really did not want to screw up the first step in the build out process. That would be a very bad sign. Fortunately the end result came out really well!
I have to admit though, installing the ladder was harder than I thought it would be. Imagine trying to pin all eight arms of a 50lb live octopus in a wrestling match and you’ll have some idea of what it’s like. First off, the rear door of the van has no flat surfaces or right angles of any kind. Realizing this, Vantech has made their ladder infinitely adjustable, which make sense, but it also means that the ladder has to be molded to the vehicle. For instance, you might think (as I did) that the first step would be to securely fasten each of the rungs of the ladder to the rails in order to give the thing some rigidity, but you’d be wrong. In fact tightening the rung bolts is the last step. You basically want every one of the 38 bolts which connect the ladder components together to be wobbly-loose until the entire thing is attached to the vehicle. If this sounds counter-intuitive, well… it is. Essentially the ladder is a wet noodle that expects the van contours to give it shape. I’m actually quite impressed that it came out as square as it did. I guess the old adage, measure 39 times, cut once really is true.

UPDATE:
I was informed by several sources that the bottom of the ladder was too low. When going uphill there is a chance that the ladder would scrape against the ground and rip the doors off. Well that sounds unpleasant, so I moved the entire ladder up a few inches. The bottom of the ladder is even with the rear bumper now. Crisis averted.
